
I have been doing this little trick for years so I thought I would create a blog post to share it.
Imagine you need to get your company logo onto computers so that you can brand some widget. When using tools that the user can interact with (like Nudge, IBM Notifier, Jamf Helper, SwiftDialog, or DEPNotify for instance) having a familiar logo or icon helps users to understand, verify, and trust the source of that window when it is presented. There’s the added benefit that it looks good too!
This method can be used to get any image file placed in any location, without having to build a package for distribution, all within Jamf Pro.
All you need do is upload an image to the Self Service section of a policy in Jamf, then use curl in a script to download that image from your Jamf Pro server and place it in the specified location. Here’s how I set it up:
- Upload the following script to your Jamf Pro server:
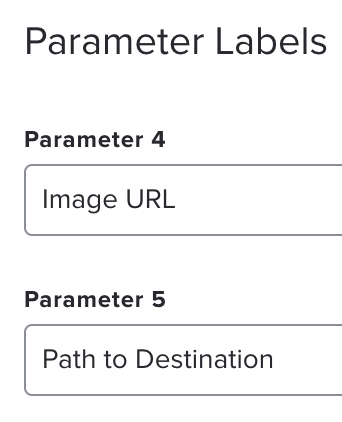
- Give the script parameters some useful labels. I used “Image URL” for parameter $4. This is the location of the image we will download. And “Path to Destination” for parameter $5. This is where the image will be saved on disk.
- Create a new policy in Jamf Pro and save it.
IMPORTANT: When first creating the policy, leave it disabled by unchecking the “Enabled” checkbox.
- General
- Name: Download Company Logo
- Enabled: No
- Trigger: Recurring Check-in
- Frequency: Once per computer
- Scripts
- Select script uploaded previously – do not configure any parameter values yet.
- Scope
- Targets: All Managed Clients or All Computers
- Self Service
- Check the box for “Make the policy available in Self Service”
- Upload the image you would like to distribute.
- After creating and saving your policy, go to the Self Service tab and find the icon that you uploaded. Right click and select “Copy Image Address” to copy the URL of the image to your clipboard. Take note of this URL.
- While still on the Self Service page for your policy, click Edit in the lower right corner, then deselect the checkbox for “Make the policy available in Self Service”. Even though the policy is no longer available in Self Service, the icon remains so we can still access it in our script.
- Select the Options tab, then the Scripts section. Paste the image URL copied in step 4 into the “Image URL” field under Script Parameters.
- Enter the full path to where the image should be placed on disk, including the image name, into the “Path to Destination” field under Script Parameters. For example
/Users/Shared/logo.png
- Return to the General section and check the Enabled box to enable the policy, then Save in the lower right corner.
That’s it. The image will be downloaded to each machine in scope and placed in the location of your choice. Now you can reference that image in other scripts and configurations as needed.
